description: Use EWC with Zeeve’s platform through our API and tools. Our documentation provides technical details on authentication, making requests and handling responses for interacting with EWC and the Zeeve platform.
EWC Validator Node Setup
NOTE Purchase a subscription before proceeding.
Create a network
This section will provide you detailed steps for creating a network of EWC.
On the Network Configuration page you will be able to see different configuration cards for EWC, which looks similar to the image provided below.
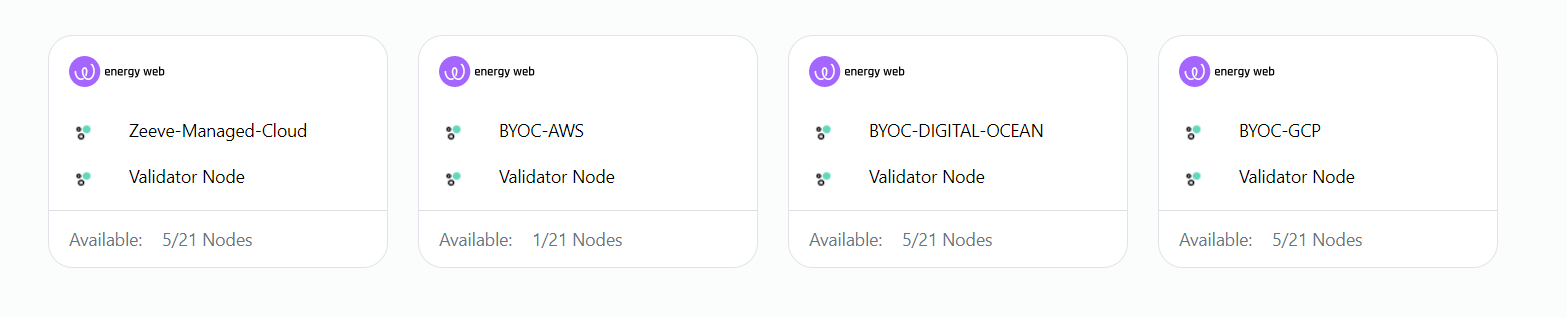
*NOTE: These configuration cards can be different based on your purchased subscriptions.*
You can Choose Zeeve Managed Cloud or you can use your cloud account (AWS/DO/GCP/Tencent Cloud) for the infrastructure of your node.
Choose the card with the configuration you want. Clicking on the card you will be redirected to the network setup page.
Network Info
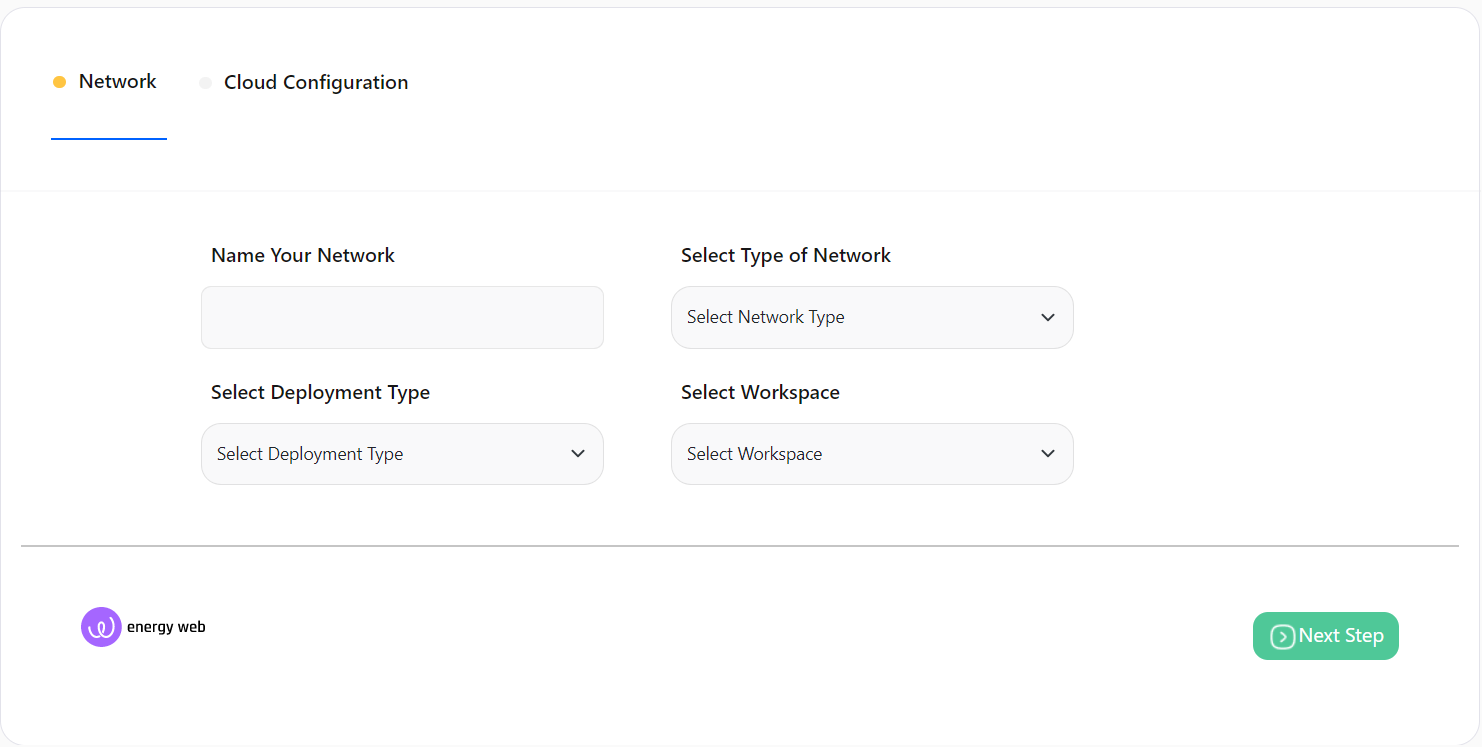
Network Name: A name to identify your network.
Deployment Type: Deployment type
Network Type
Energy Web: This will deploy your network on the network mainnet. This is suggested for deploying production-grade EWC dapps.
Volta: This will deploy your network on the network testnet. you can use this for your non-production needs like testing or demonstrations.
Workspace: This represents the workspace in which the network will be added after the successful creation.
Proceed further by clicking on the Next Step button after providing all the details.
Cloud Configuration
This step configures the cloud settings for your node. This step can vary based on your selection of Network configuration card
Zeeve Managed Cloud
In the case of Managed - Cloud, select the region for the network under Select Region and provide a name to your node.
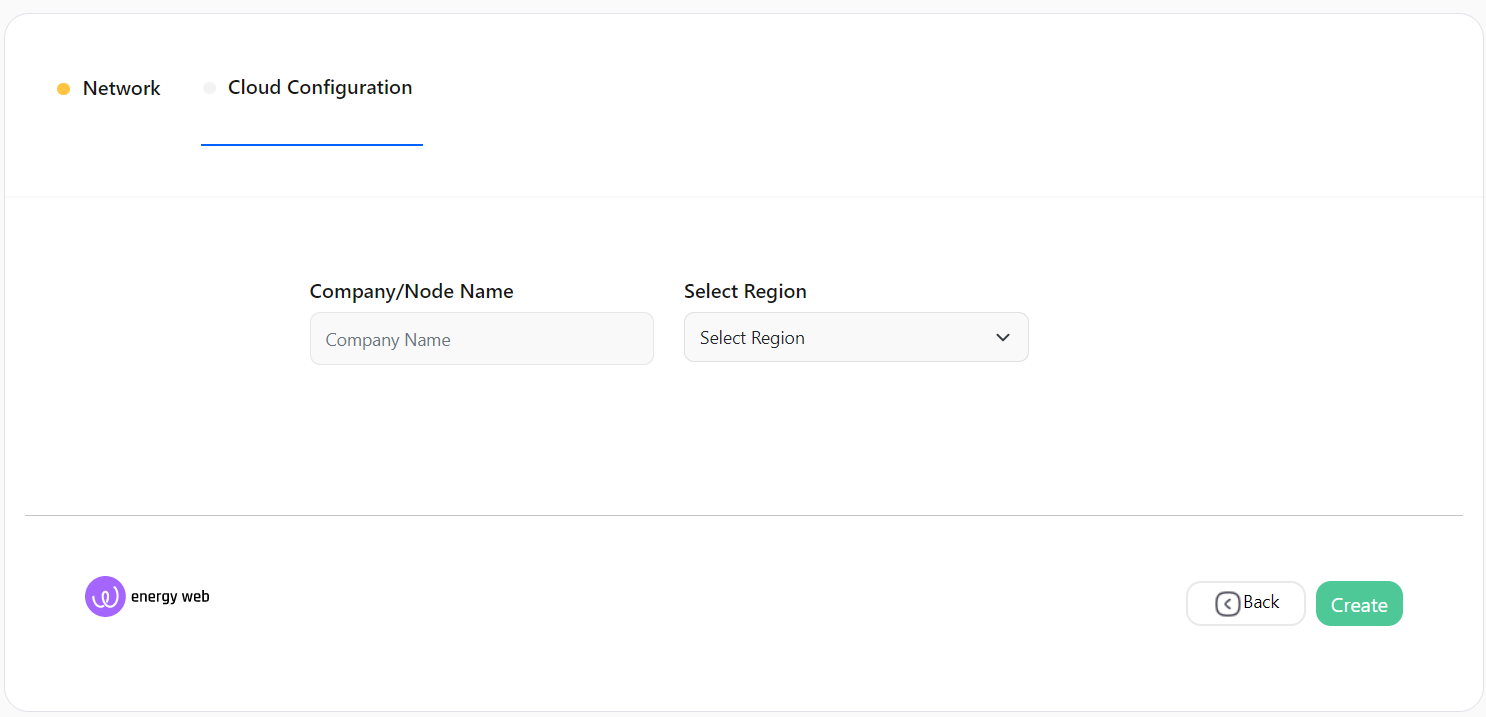
Company/Node Name: This is the name given to the validator node.
Region: It indicates the region of the cloud service. These regions are the geographic locations where your network instances are going to be hosted.
Bring Your Own Cloud
In the case of BYOC (AWS/Digital Ocean/GCP/Tencent Cloud), select the region for the network by clicking on Select Region, select the Cloud account you want to use by clicking on Select Cloud Account, choose the instance type as your requirement by clicking on Select Instance Type and provide a name to your node.
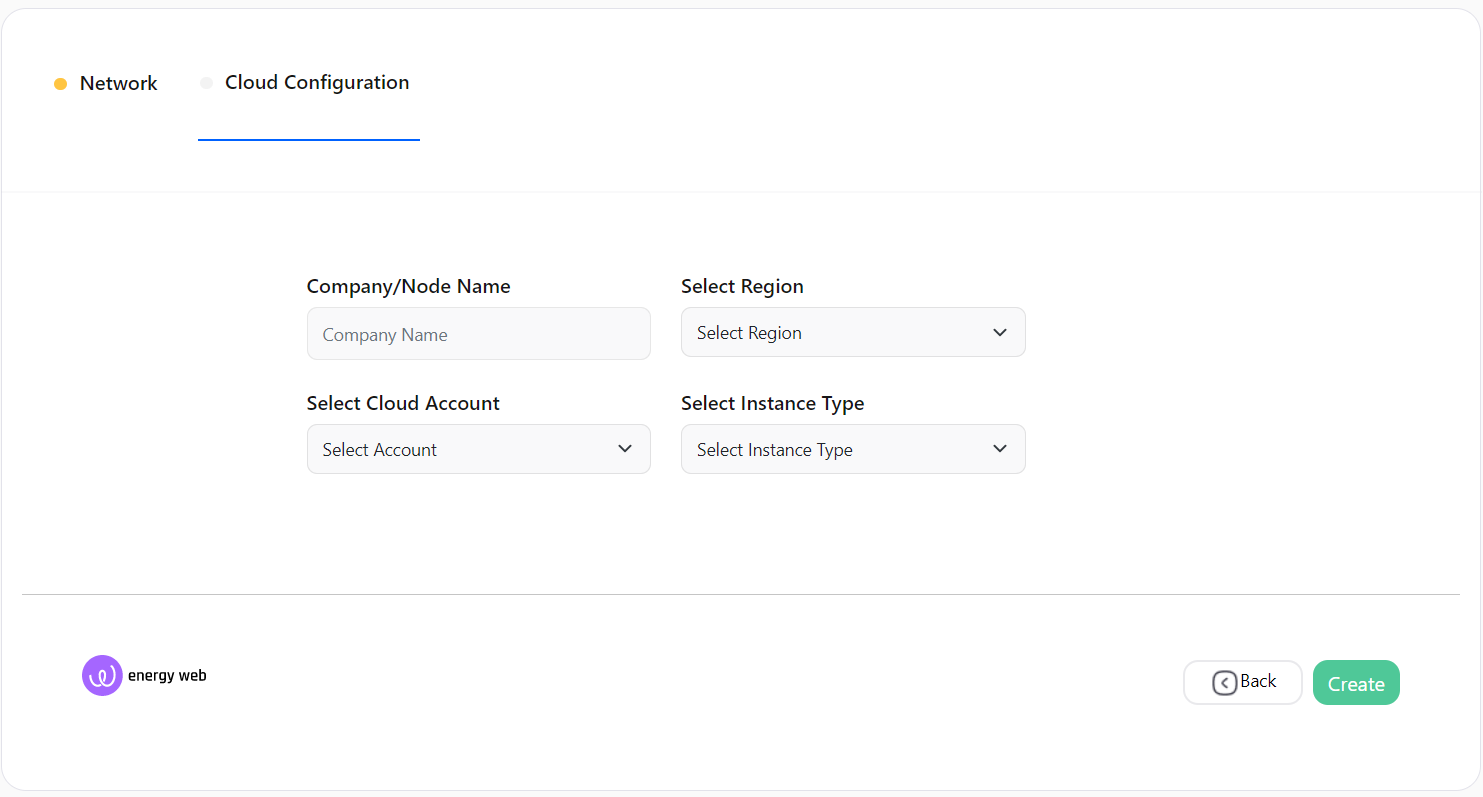
Company/Node Name: This is the name given to the validator node.
Region: It indicates the region of cloud service. These regions are the geographic locations where your network instances are going to be hosted.
Cloud Account: It represents the cloud account that is going to be used for network creation.
Type of Instance: It defines the combination of CPU cores and memory. Choose the configuration which could handle loads of your network. This parameter is useful for scaling up the network. The type of Instances may vary from cloud to cloud.
On clicking the Create button a pop-up window will open which ensures the successful creation of your network.
On clicking the Continue button you will be redirected to the page where you can see the network you created.
NOTE To become an EWF (Volta/EWC) validator, please proceed with the multi-sig process.
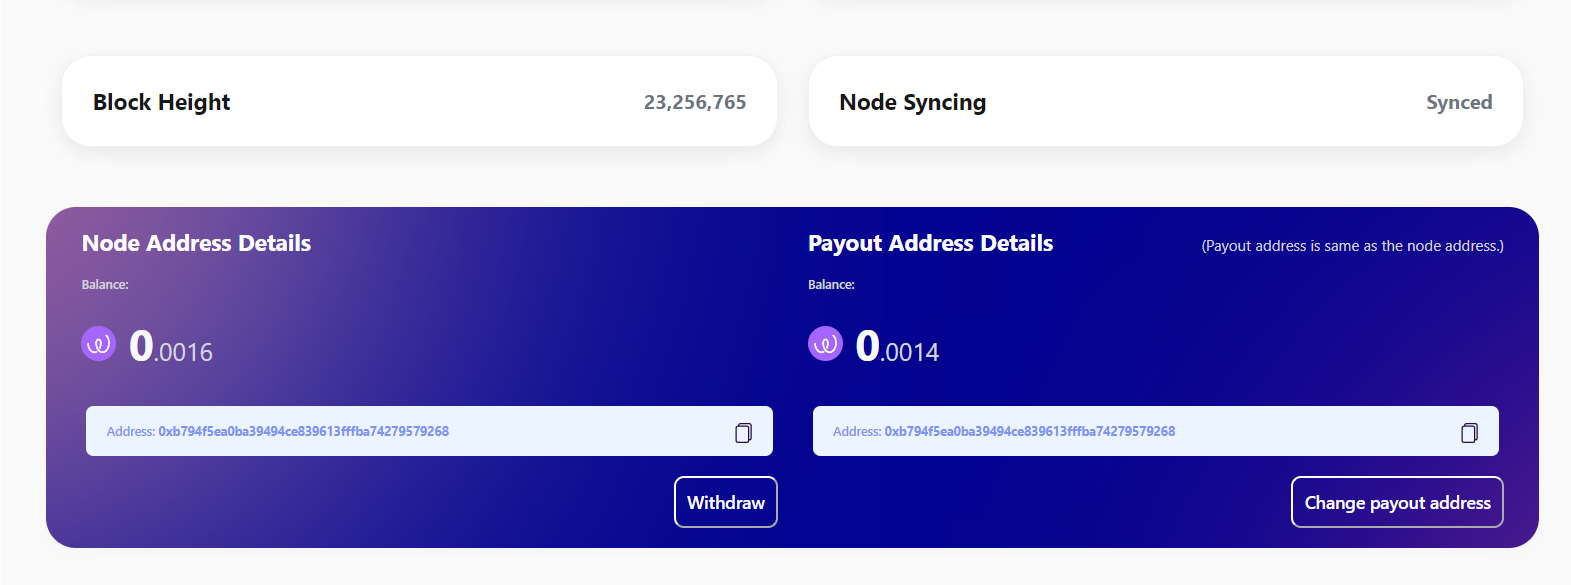
Withdrawal and Address Change
Amount Withdraw
In the case you want to withdraw amount, click on the withdraw button in the Node Address Details panel.
On clicking the Withdraw button a pop-up window will open.
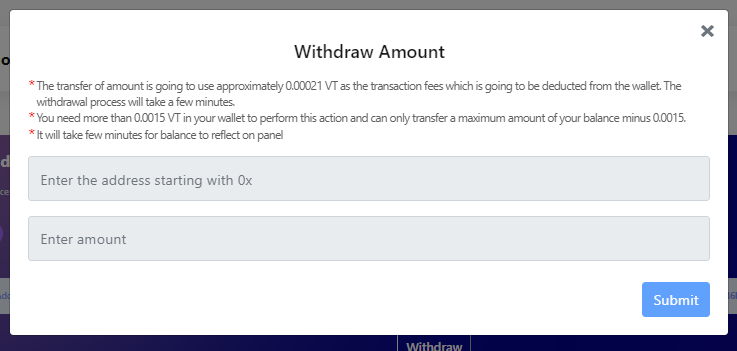
Address: Enter the address where you want to withdraw the amount.
Amount: Enter the amount you want to withdraw. The amount should be more than 0.0015.
On clicking the Submit button to make the transaction. The amount withrawal will take few minutes to complete the transaction.
Address Change
In the case you want to change Address, click on the Change Payout Address button in the Payout Address Details panel.
On clicking the Change Payout Address button a pop-up window will open.
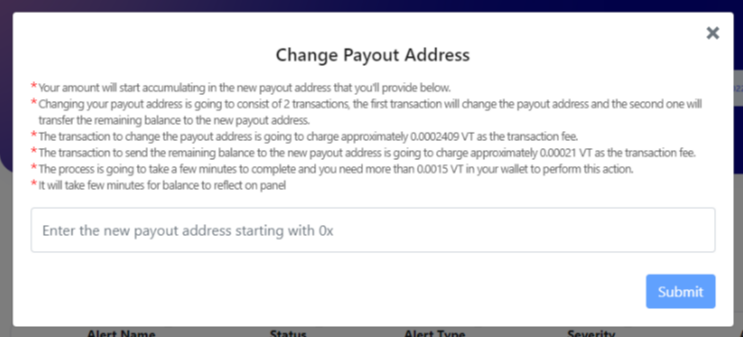
Address: Enter the new payout address.
On clicking the Submit button the Payout Address will be changed.
Download Installation Summary
To Download Installation Summary. Go to the detail page and click on the Download installation summary button.
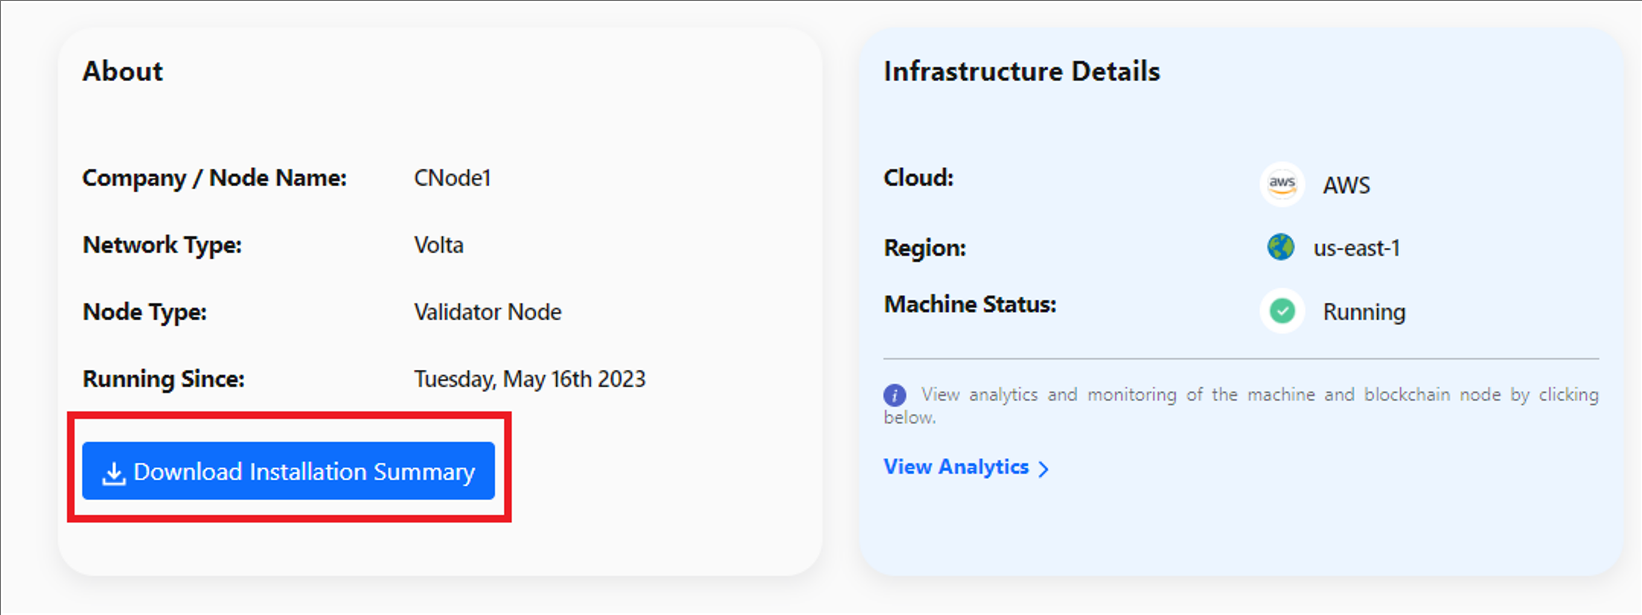
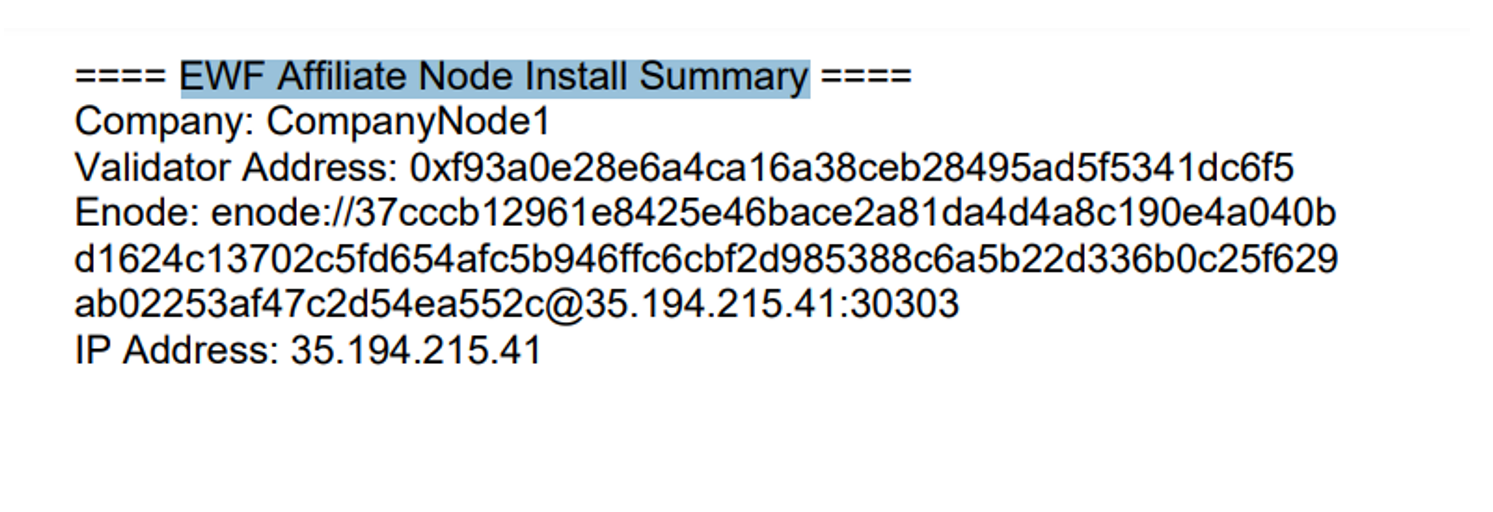
On clicking the Download installation summary button, a PDF will be downloaded with the EWF Node Install information.
Node Name.
Validator Address.
Enode.
IP Address.
This information will be displayed in a format similar to the below image
NOTE Download option will be available when a node is In the Active stage.
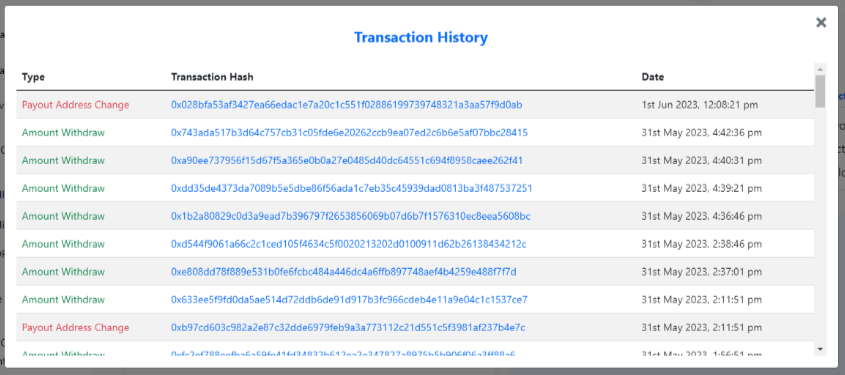
View Transaction
To view all the transaction. Click on the Actions button on the top right, and select the View Transaction option.

On clicking the View Transaction button a pop-up window will open.
View On Explorer
To view all Address details on the EWC Explorer. Click on the Actions button on the top right, and select the View On Explorer option.
On clicking the View On Explorer button a new tab will open.
Analytics
To view network analytics and monitoring details, click on the View Analytics in the Infrastructure Details panel.
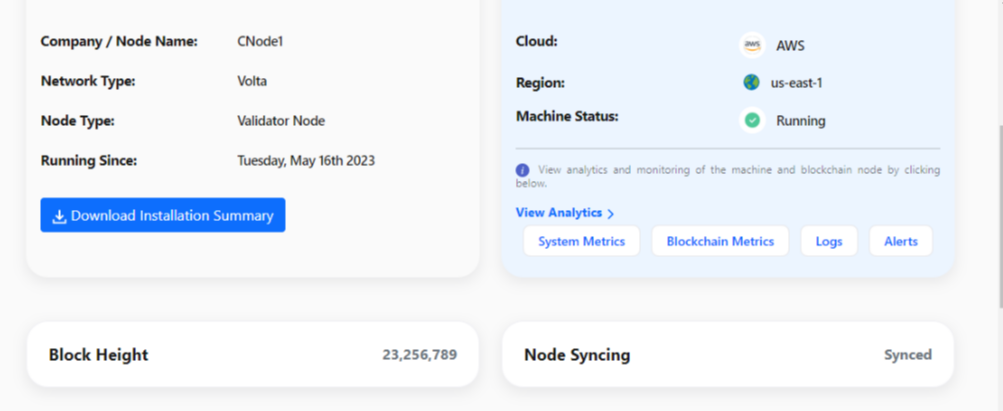
On clicking the View Analytics hyperlink, four button will be displayed.
System metrics
Blockchain metrics
Logs
Alerts
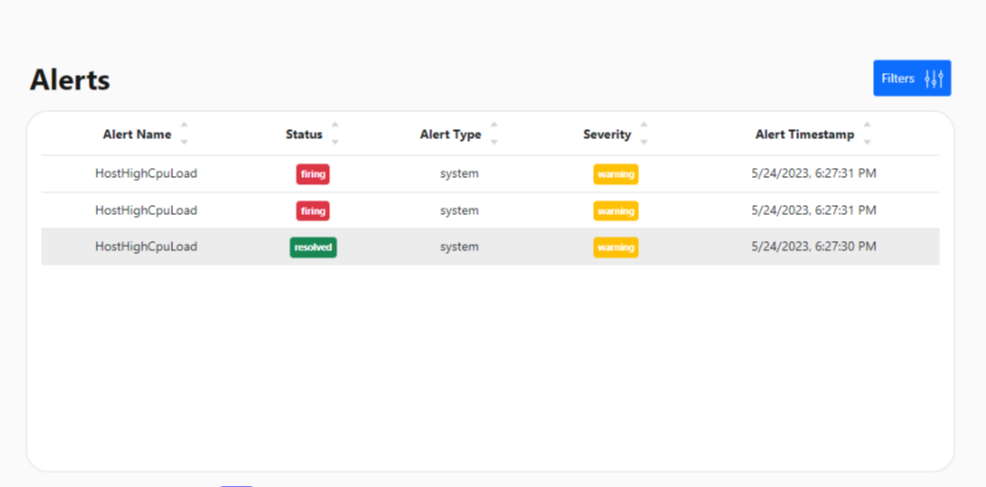
Alerts Section
You will see Alerts sections at the bottom of the page. Here you can see the list of Alerts related to you EWC network.
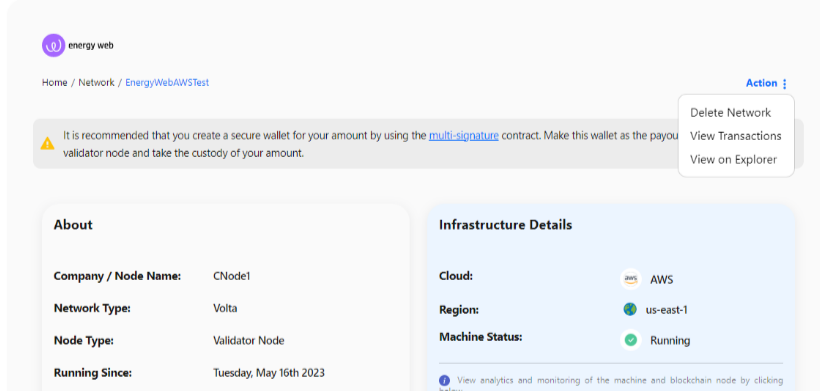
Delete a network
Visit the network detail page. Click on the Actions button on the top right, and select the Delete Network option.
A confirmation window will open, click on the Yes button to delete the network.
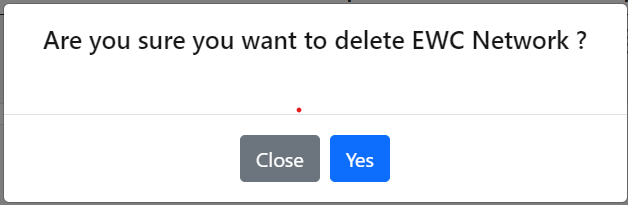
NOTE It will take a few minutes to delete a network.